Connect Microsoft SQL Server
Connect your Microsoft SQL Server source to Bigeye.
1. Create a SQL Server read-only user
Create a read-only user with table-level permissions that Bigeye can use to connect to SQL Server. This user can use a standard password or kerberos authentication.
Kerberos authentication
Bigeye supports SQL Server connections with Kerberos authentication using the data source agent. For more information, go to Keberos Authentication (agent only).
Add permissions
-
Launch SQL Server Management Studio and connect with credentials having ‘sa’ role permissions.
Expand Security, right-click Logins, and select New Login. -
Enter a descriptive Login name, select SQL Server authentication, and enter a secure password. On the bottom of the page, select the database that Bigeye connects to as the Default database.
-
Select the User Mapping tab, check the box next to the desired database, confirm that only ‘public’ is selected, and click OK.
-
Click New Query and select the database to connect with Bigeye.
Paste the following query into the query window and execute. Replace
bigeye_read_onlywith the username of the user you created.SELECT 'GRANT SELECT ON "' + TABLE_SCHEMA + '"."' + TABLE_NAME + '" TO "bigeye_read_only"' FROM information_schema.tables -
Select and copy the query results into the query window.
Remove any tables or views that the bigeye_read_only user must not have access to.
Execute the query. -
Next, grant view definition on the dbo schema. Copy the below query and execute it in SQL Server. Replace the username with the username you created earlier.
GRANT VIEW DEFINITION ON SCHEMA :: dbo TO bigeye_read_only
You can now use these credentials to connect Bigeye to your database with read-only permissions on only the specified tables.
2. Allow Bigeye to connect to SQL Server from a local machine
There are a couple of configurations you must define to use Bigeye with a local SQL Server:
- Forward traffic from each of Bigeye's Static IP addresses on port 1433 to the internal IP address of your desktop computer.
- Allow access to SQL Server via the Windows firewall. For more information, see Configure the Windows Firewall to allow SQL Server access.
3. Add SQL Server as a data source in Bigeye
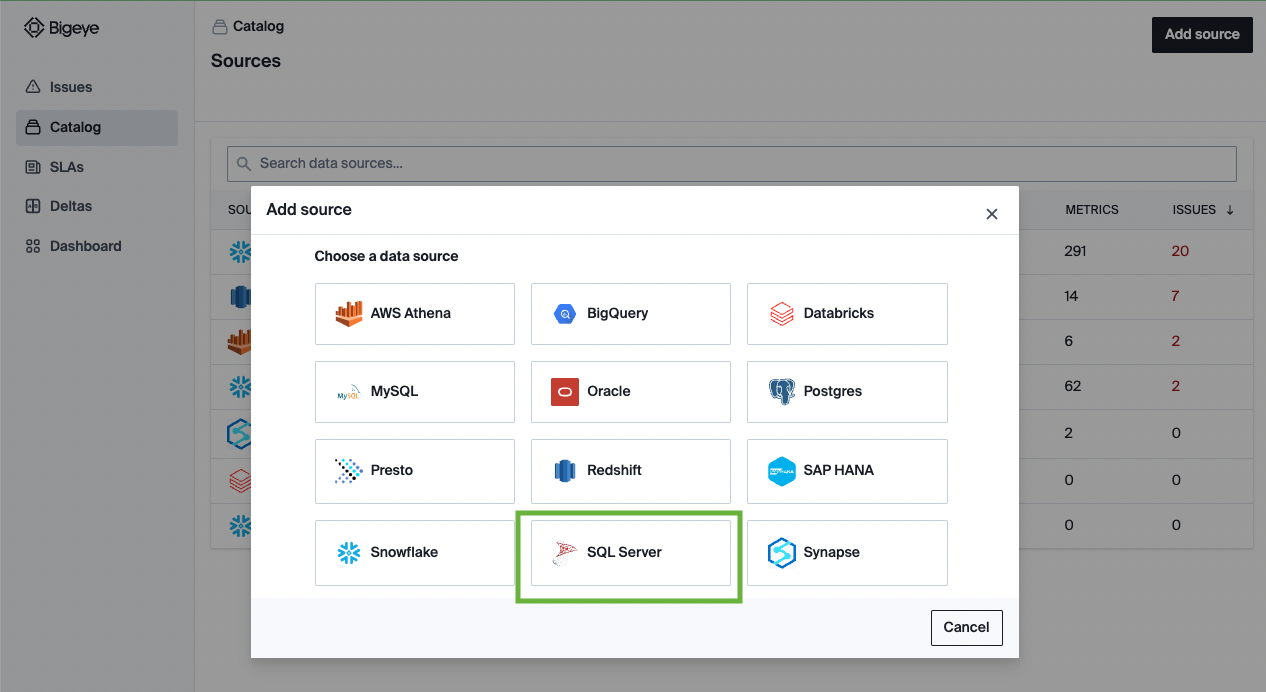
On the Catalog page, click Add Source and select SQL Server from the Choose a data source section. Click Next to configure the connection to your database.

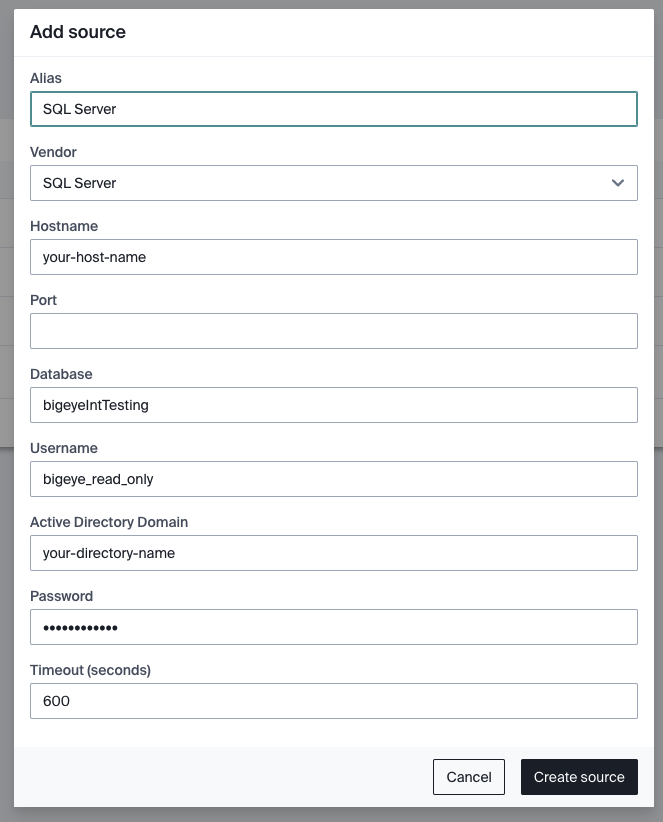
On the Configure source modal that opens, enter the following details:
| Field Name | Description |
|---|---|
| Alias | The identifying name of the data source. |
| Vendor | SQL Server |
| Hostname | The name of the server that hosts your database. |
| Port | The default port is 1433. |
| Database | The name of the database. |
| Username | The name of the dedicated user for Bigeye. |
| Active Directory Domain | The name of the active directory domain. |
| Password | The password of the Bigeye user. |

4. Review the SQL Server connector notes below
Below are the objects accessed by the SQL Server lineage connector.
-- Microsoft Tables/Views

information_schema.check_constraints
information_schema.columns
information_schema.column_privileges
information_schema.constraint_column_usage
information_schema.key_column_usage
information_schema.parameters
information_schema.referential_constraints
information_schema.routines
information_schema.tables
information_schema.table_constraints
information_schema.table_privileges
information_schema.views
sys.all_objects
sys.column_xml_schema_collection_usages
sys.databases
sys.extended_properties
sys.filegroups
sys.indexes
sys.linked_logins
sys.objects
sys.procedures
sys.server_principals
sys.server_triggers
sys.sysfiles
sys.tables
sys.types
sys.views
sys.xml_schema_collections
sys.xml_schema_namespaces

-- Microsoft Procedures

sp_helpdb
sp_helpfile
sp_helpindex
5. Next Steps
After you've configured the source, Bigeye loads and profiles your tables. It can take up to 24 hours for the profiling to complete and your autometrics and autothresholds to populate. See how to deploy autometrics in the Getting Started guide.
Updated 3 months ago
