
Ping
Summary
This short series of steps enables Ping admins to connect their Ping provider to Bigeye for single sign on. Bigeye supports SSO via OpenID Connect (OIDC). Upon completion, your employees will be able to login to Bigeye via Ping.
Note - substitute the email domain valuesMake sure to enter the same
<domain>value throughout this process. The domain will be the email domain of your users such asexample.com. If you have more than one domain, it is recommended to set up more than one connection inside of Bigeye.
Note - your Bigeye URL may be differentIf you use a Bigeye URL that is different from app.bigeye.com, please substitute your Bigeye URL while performing the steps of this configuration.
Part 1: Configure Ping to connect to Bigeye
- From the Ping Identity Console, go to Connections > Applications

- Click the + icon to create a new application

- Fill in the application details as follows:
- Name: Bigeye
- Icon: upload the Bigeye logo
- Application Type: OIDC Web App
- Click Save
- Open the new application from the list, and click on the badge for OpenID Connect

- Input the following values:
- Response Type: Check Code and Token
- Grant Type: Check Authorization Code and Refresh Token
- PKCE Enforcement: Optional
- Redirect URIs:
https://app.bigeye.com/sso/oidcLogin/<domain>, substituting your email domain e.g.mycompany.com - Token Endpoint Authentication Method: Client Secret Post
- Initiate Login URI:
https://app.bigeye.com/sso/<domain>
- Click Save
Part 2: Gather application information for Bigeye
- From the Ping Identity Console, open the entry for your Bigeye application
- Click on the Configuration tab
- Note the following information to provide to Bigeye:
- OIDC Discovery Endpoint (this will be input into Bigeye as the Issuer URL, without the ending that starts with
.well-known) - Client ID
- Client Secret

Part 3: Configure Bigeye to integrate with Ping
To configure Bigeye to connect to Ping:
- Go to https://app.bigeye.com/settings/single-sign-on
- Click New Connection
- Set the following values:
- Single sign-on provider: OpenID Connect (OIDC)
- Domain: your email domain (e.g. example.com). After this connection is activated, all email addresses for this email domain will be forwarded to your identity provider.
- Connection name: your email domain (e.g. example.com). This is an identifier used by Bigeye and your identity provider when they interact.
- Issuer URL: this is the URL that provides information about your OpenID Connect endpoints and which parameters are accepted. This URL should be accessible over the network that connects to Bigeye. Bigeye will append
.well-known/openid-configurationto the URL you provide. - Client ID and Client Secret as configured by your identity provider
- Click Save
Once the connection is saved, all logins for the domain specified will be validated by your identity provider. We highly recommend doing the following to verify your connection:
- Log in inside of another browser to verify that you can log in. If you are not able to log in, you may delete the Single Sign-on Connection inside of Bigeye to prevent other users from being locked out.
- Verify in your identity provider that the correct users are added to the applicable membership groups for Bigeye.
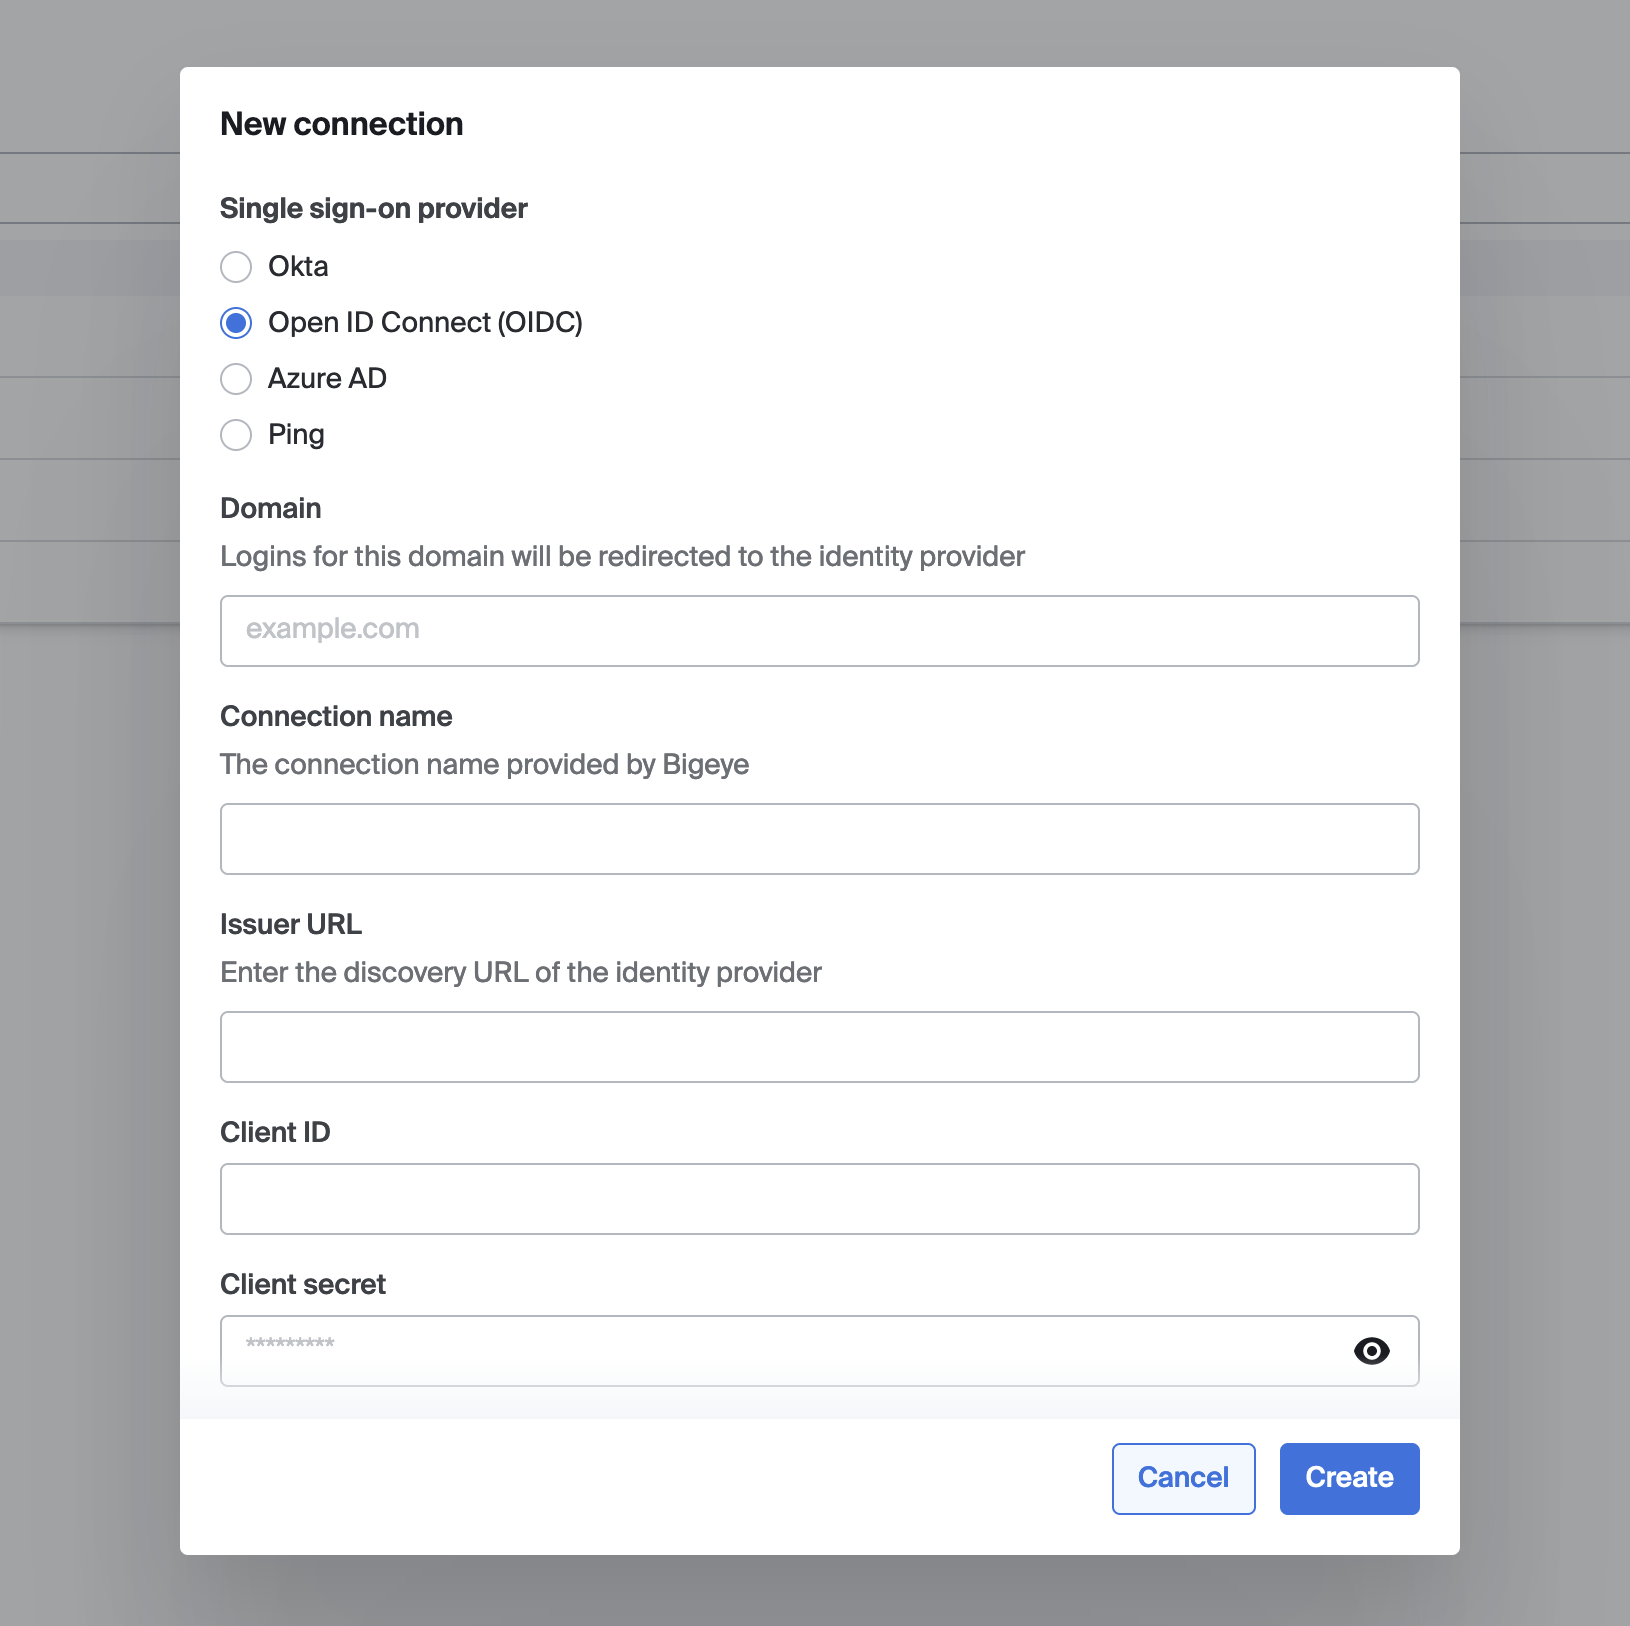
Configuration dialog for a new single sign-on connection
Notes
- When verifying the permissions for the app inside of Ping, make sure that the Identity Token has at least the following pieces of information:
- name or firstName/lastName
- aud (Audience)
- iss (Issuer)
- exp (Expiration)
Updated 5 months ago