Connect Azure Synapse
Connect your Azure Synapse source to Bigeye.
1. Create a user for Bigeye
Ask your database administrator to create a Bigeye user at the database level. See SQL Authentication in Azure Synapse Analytics for more details.
You can create the user by running the following commands.
For each of these statements, make a separate connection to the database.
- Connect to master
CREATE LOGIN bigeyeuser WITH PASSWORD = '<password>';
GO;- Connect to the db-to-be-monitored
CREATE USER bigeyeuser FOR LOGIN bigeyeuser;
GO;
ALTER DATABASE [db-to-be-monitored]
--omit the following if already enabled
--query history is required for bigeye table popularity ranking
SET QUERY_STORE = ON;
GRANT SELECT ON sys.query_store_query TO [bigeyeuser];
GRANT SELECT ON sys.query_store_query_text TO [bigeyeuser];
GRANT SELECT ON SCHEMA :: <desired schema for monitoring> TO bigeyeuser;
GO;
--For finer grained control, define SELECT permissions for bigeye service account on desired tables
--example
--GRANT SELECT ON bigeyeTest.stage.orders TO bigeyeuser
2. Allow Bigeye IP
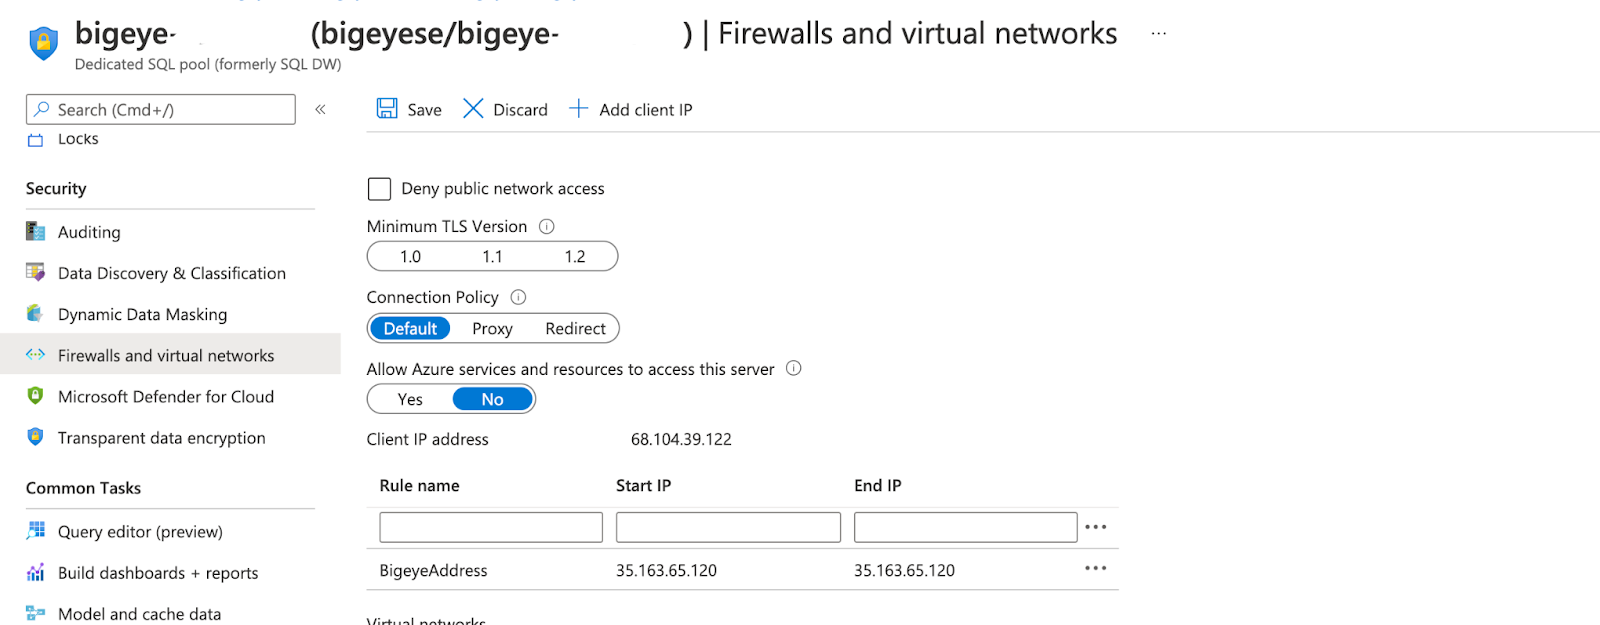
Navigate to Firewalls and virtual networks > Add client IP. Enter the Start and End IP using one of Bigeye's Static IP addresses .

Repeat step 2 for each of Bigeye's Static IP addresses .
3. Gather Synapse connection information
Gather the following connection information:
- Fully qualified server name that hosts the database you want to connect to
For example:bigeye-integration-testing.sql.azuresynapse.net - Name of the database
- Authentication method: Username and password
4. Add Synapse as a data source in Bigeye
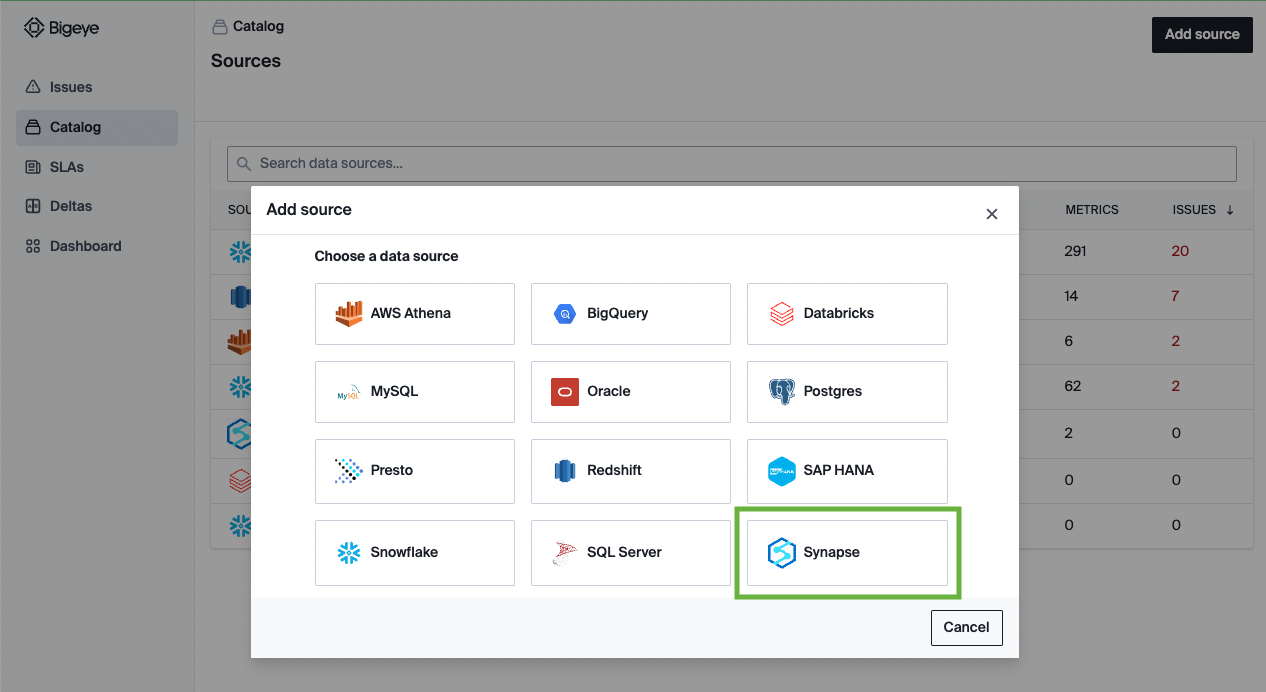
On the Catalog page, click Add Source and select Synapse from the Choose a data source section. Click Next to configure the connection to your database.

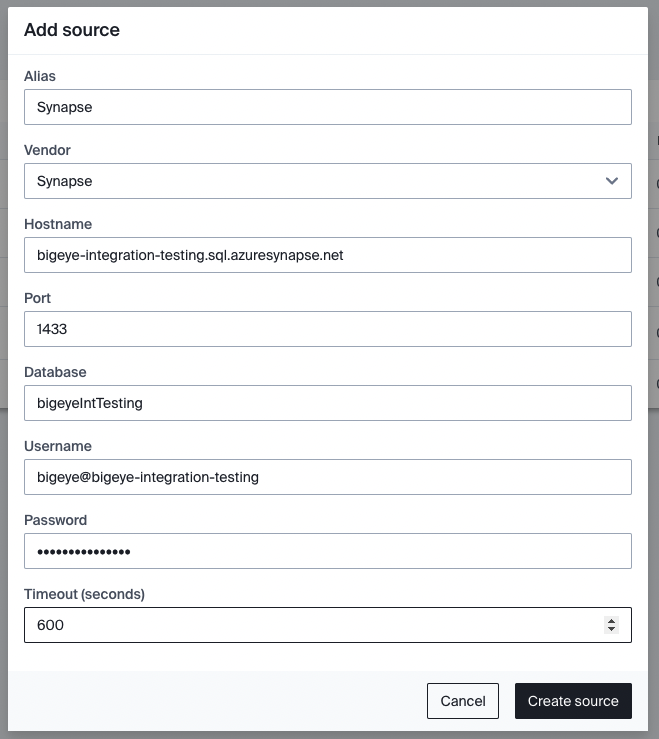
On the Configure source modal that opens, enter the following details:
| Field Name | Description |
|---|---|
| Alias | The identifying name for the data source. |
| Vendor | Synapse |
| Hostname | The name of the server that hosts your database. |
| Port | 1433 |
| Database | The name of the database. |
| Username | The name of the dedicated user for Bigeye. |
| Password | The password that is created for the Bigeye user. |

5. Next Steps
After you've configured the source, Bigeye loads and profiles your tables. It can take up to 24 hours for the profiling to complete and your autometrics and autothresholds to populate. You can now proceed to the next steps in the Getting Started guide.
Updated 3 months ago
