User Roles
Roles categorize users and provide a structured way to assign permissions to them, such as which member roles they can manage or what data they have access to. Bigeye has three predefined roles that can be assigned to a user, which are listed in a top-down hierarchy as follows:
- Owner
- Admin
- User
Note: When assigning roles, you must have an equal or greater role than the one you're assigning.
Managed Role | Description | Privileges |
|---|---|---|
Owner | An owner can add, edit and delete users, administrators, and other owners. | An owner can add, edit and delete users, administrators, and other owners. Owners have full access to data-related, account, and advanced settings. They can also transfer the account ownership to another user |
Admin | An admin can add, edit and delete users and other administrators, but not the owners. An account can have more than one admin. | Admins have all the rights that the owner enjoys, except that an admin cannot manage the permissions of an owner. |
User | A user can add and edit other users but not the admins and owners. It is the least-privileged role in the Bigeye app. A user can invite other users, but cannot delete other users An account can have multiple users. | An owner or an admin can modify the rights of a user. Users do not have access to advanced settings and are able to perform the following tasks:
|
Managing Users
Edit user role
To edit a user role:
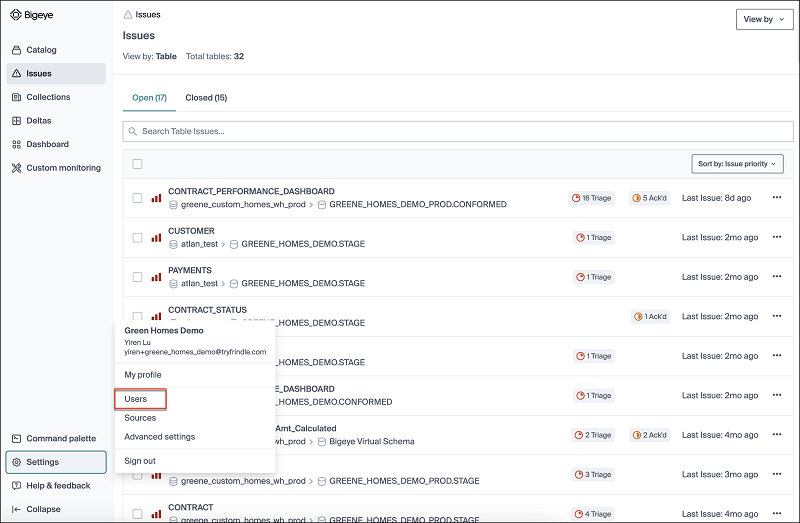
- From the Home screen, navigate to Settings > Users.
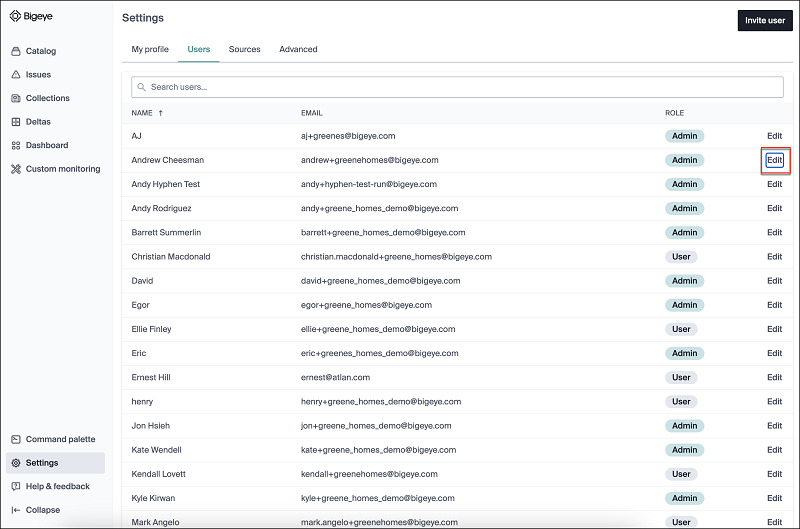
- On the Users screen, click the Edit button next to the user whose role you would like to modify.
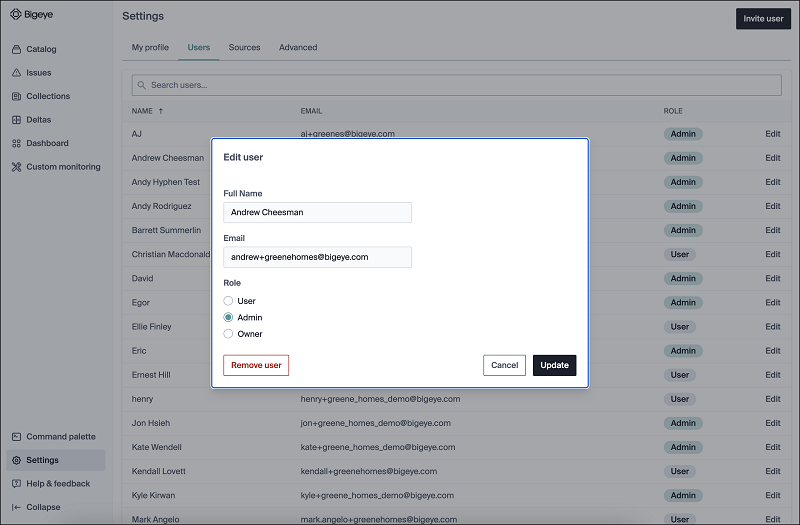
- In the Edit User dialog box that opens, you can now edit the role or remove the user.
- When editing the user, you must have an equal or greater role than the user you're editing.
- A member in a user role can't remove another user.
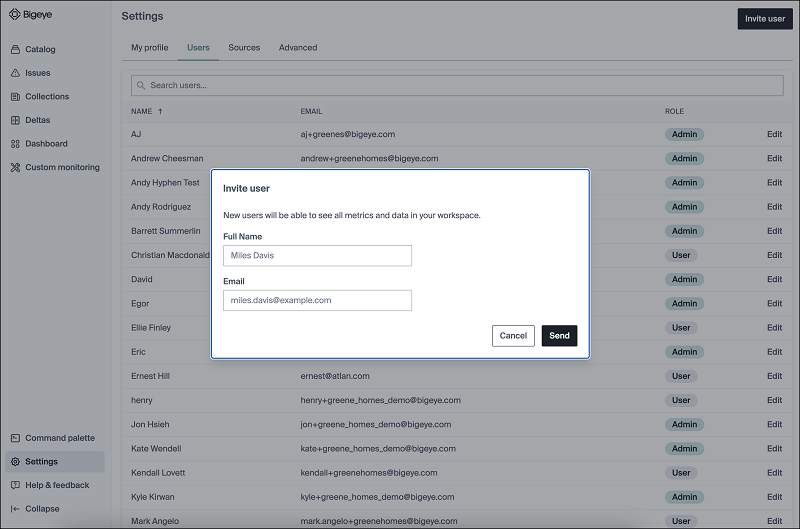
Invite User
To add a user:
- Click the Invite User button on the Home screen.
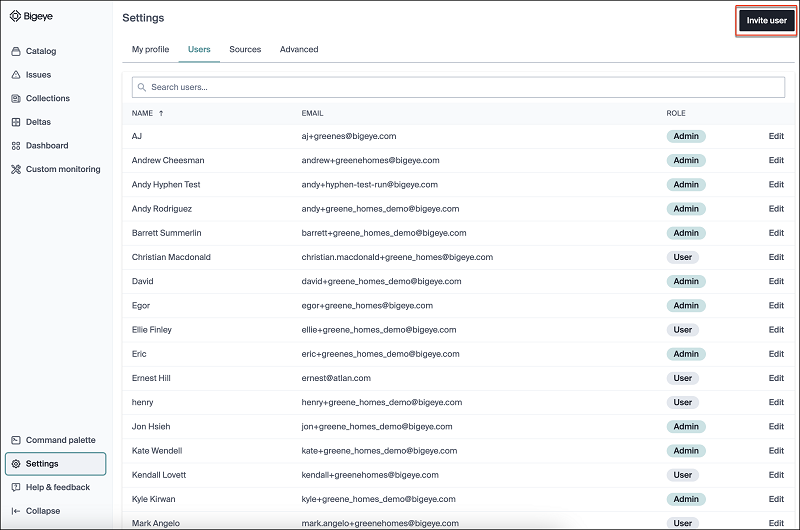
- Enter the Full Name and Email of the user, and click Send.
Updated 2 months ago
